Soil Testing: How To Take Samples And Read Results

Soil Testing: Its Importance and Benefits – Rahul Laboratories
March 11, 2026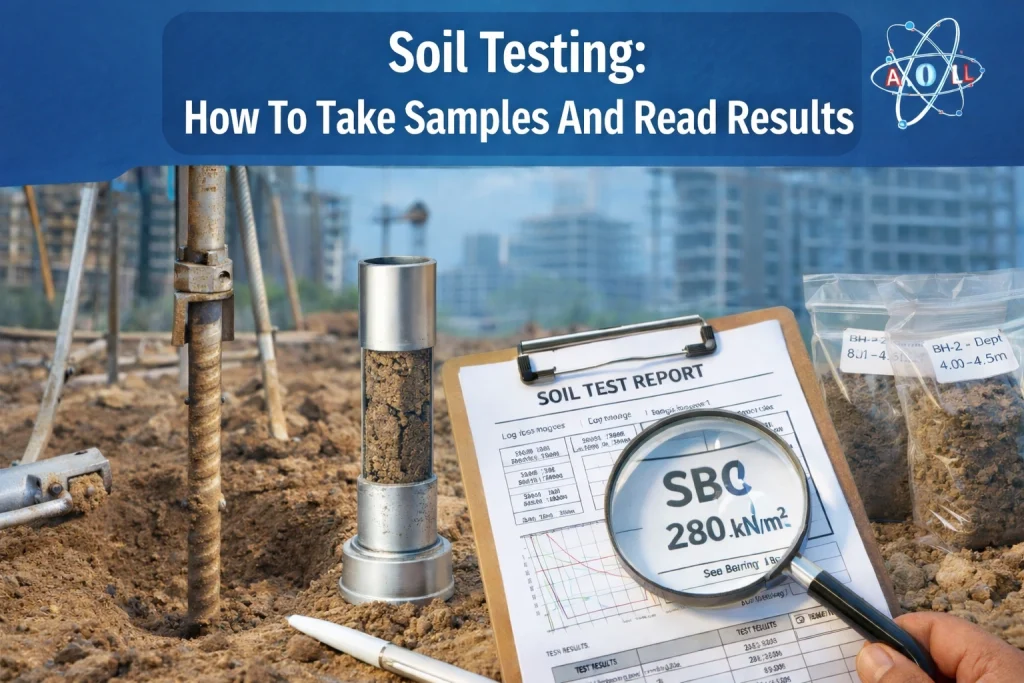
When you’re planning construction, road work, landscaping, or any structural project, soil is not just “ground.” It’s the foundation that decides whether your project stands strong or starts cracking within a few years. That’s why soil testing is not optional. It’s essential.
At Rahul Engineers Laboratories, we’ve seen how proper soil investigation prevents costly structural failures, redesigns, and delays. In this guide, we’ll walk you through how to take soil samples correctly and how to understand soil test results in practical, real-world terms.
Why Soil Testing Matters Before Construction
Before designing a foundation, engineers need answers to critical questions:
- How much load can the soil safely carry?
- Will the soil settle over time?
- Does it expand when wet?
- Is groundwater present?
Skipping soil testing can lead to foundation cracks, uneven settlement, water seepage, and structural instability. Soil investigation ensures the foundation type, depth, and design are suitable for actual site conditions.
When Should Soil Testing Be Done?
Soil testing is typically conducted:
- Before residential construction
- Before commercial or industrial projects
- For highway and bridge projects
- During land development planning
- When structural distress appears in existing buildings
Early testing saves money. Late testing fixes mistakes.
How To Take Soil Samples Properly
Accurate results start with correct sampling. Even the best laboratory cannot fix a poorly collected sample.
Here’s how professionals approach it.
1. Decide the Type of Soil Investigation
There are two main approaches:
Surface Sampling
Used for agriculture, landscaping, and shallow foundations. Samples are collected from the topsoil layer (usually 0–1 meter depth).
Subsurface Sampling
Used for structural and geotechnical investigations. Boreholes are drilled to required depths based on project size.
For construction projects, subsurface investigation is essential.
2. Tools Used for Soil Sampling
Professional sampling requires specific equipment:
- Hand auger
- Split spoon sampler
- Core cutter
- Shelby tube sampler
- Drilling rig for boreholes
Using proper tools ensures minimal disturbance to soil structure, which is critical for accurate laboratory results.
3. Step-by-Step Soil Sampling Process
Step 1: Site Marking
Mark borehole locations based on building layout. For small residential plots, 1–2 boreholes may be sufficient. Larger projects require more.
Step 2: Drilling
Boreholes are drilled to the required depth, often until hard strata or rock is encountered.
Step 3: Sample Collection
Samples are collected at regular depth intervals (usually every 1.5 meters or at change of soil layer).
There are two types of samples:
- Disturbed Samples – Used for grain size analysis and classification
- Undisturbed Samples – Used for strength and consolidation tests
Undisturbed samples must be handled carefully to preserve natural soil structure.
Step 4: Labeling
Each sample is labeled with:
- Borehole number
- Depth
- Date
- Project name
Clear labeling prevents data confusion later.
Step 5: Laboratory Testing
Samples are transported safely to the lab for testing under controlled conditions.
At Rahul Engineers Laboratories, strict handling procedures ensure reliable and consistent results.
Common Soil Tests and What They Mean
Now let’s understand how to read soil test results.
1. Soil Classification Test
Grain Size Analysis
This test determines the percentage of sand, silt, and clay in soil.
Why it matters:
- Sandy soils drain well but have lower cohesion
- Clay soils hold water and may expand
- Silty soils can lose strength when wet
The report will show percentages and classification such as:
- Clay (CL)
- Sandy clay (SC)
- Well-graded sand (SW)
This classification helps engineers predict behavior under load.
2. Atterberg Limits
This test measures:
- Liquid Limit (LL)
- Plastic Limit (PL)
- Plasticity Index (PI)
These values indicate how soil behaves with moisture.
High PI = Expansive soil risk
Such soil swells when wet and shrinks when dry, which can damage foundations.
If the report shows:
- LL > 50%
- PI > 25
The soil may require special foundation treatment.
3. Standard Penetration Test (SPT)
SPT provides the N-value, which shows soil strength.
Higher N-value = stronger soil.
Example interpretation:
- N < 10 → Very soft soil
- 10–30 → Medium dense
- 30 → Dense soil
Engineers use this value to calculate safe bearing capacity.
4. Safe Bearing Capacity (SBC)
This is one of the most important results.
It tells how much load the soil can safely support (usually expressed in kN/m²).
For example:
- 100 kN/m² → Low strength
- 200 kN/m² → Moderate strength
- 300+ kN/m² → Good strength
Foundation design directly depends on SBC.
5. Moisture Content
Indicates water percentage in soil.
High moisture can reduce strength and increase settlement.
6. Consolidation Test
This test shows how much soil will settle under load over time.
Important for:
- Multi-storey buildings
- Industrial structures
- Water tanks
7. Shear Strength Test
Measures soil resistance against sliding or failure.
Key parameters:
- Cohesion (c)
- Angle of internal friction (φ)
These values are essential for foundation and slope stability design.
How to Read a Soil Test Report Properly
A soil report typically contains:
- Site description
- Borehole log
- Soil profile
- Laboratory test results
- SBC recommendation
- Foundation recommendations
Instead of focusing only on numbers, look at:
- Soil layer changes
- Groundwater table level
- Recommended foundation depth
- Any special treatment advice
If the report suggests raft foundation or pile foundation, it means soil strength is limited.
Common Mistakes to Avoid
- Taking samples only from surface for building construction
- Ignoring groundwater level
- Using outdated or unverified lab reports
- Not matching foundation design with soil report
These mistakes can lead to major structural issues later.
Why Choose Professional Soil Testing?
Soil behavior is complex. A small miscalculation can result in structural damage costing lakhs or even crores.
At Rahul Engineers Laboratories, soil testing is performed using calibrated equipment, experienced technicians, and standardized procedures. We ensure:
- Accurate borehole investigation
- Reliable laboratory analysis
- Clear and detailed reporting
- Practical foundation recommendations
We work closely with structural engineers, builders, architects, and developers to provide dependable geotechnical data.
Final Thoughts
Soil testing is not just a technical requirement. It is a risk management step.
Before laying bricks, before pouring concrete, before investing heavily in materials, invest in understanding the ground beneath you.
Correct sampling ensures accurate results.
Accurate results ensure safe structures.
If you’re planning construction and need dependable soil investigation services, Rahul Engineers Laboratories is ready to assist with professional expertise and trusted testing standards.
Because strong structures begin with strong foundations — and strong foundations begin with proper soil testing.